
What Skipping This Costs You
Put this off for another season and the bill doesn't disappear — it just moves further down the road and gets bigger. A door that's been swelling and shrinking with every humid day and afternoon downpour starts binding in its tracks. Rollers that were never lubricated grind themselves down. Hardware that nobody tightened works loose until the door starts sagging on one side. None of that shows up as a big dramatic failure at first — it shows up as a slightly louder door, then a door that hesitates, then a spring or cable that finally gives out at the worst possible time, usually right before you need to get a car out ahead of a storm. Twenty minutes now is cheaper than an emergency call later.
Tools You'll Need
- Work gloves
- A flashlight
- A socket wrench or screwdriver set
- Silicone-based garage door lubricant (not WD-40, not grease)
- A clean rag
- A stepladder, if your door is tall or you can't see the top track from the ground
The 20-Minute Routine
- Look at the whole door with the lights on. Walk the full width and height of the door, inside and out. You're checking for rust spots (common here with the salt air and humidity working on exposed hardware), dented or bowed panels, and any gap where the door isn't sitting flush against the frame. A gap that wasn't there last season usually means the door is starting to warp or the track has shifted slightly.
- Check the tracks for debris and alignment. Run your hand (gloved) along the inside of both tracks. You're feeling for dirt buildup, dried mud from storm runoff, or small dents. Wipe both tracks clean with the rag. While you're there, look down the length of each track — it should run perfectly straight and parallel to the other side. If one track curves inward or outward anywhere, stop and make a note; that's not a lubrication issue.
- Lubricate the moving metal parts. Apply the silicone lubricant to the rollers, hinges, and the track itself (a light coat, not a soak). Do this every season, not just once a year — Escambia County humidity works lubricant out of metal joints faster than drier climates, and that's exactly what causes the grinding and squealing noises that show up a few months later.
- Tighten the visible hardware. Using your wrench, go over every bolt holding the track brackets to the frame and the hinges to the panels. Vibration from regular opening and closing works these loose gradually. You're not torquing them down hard — just snug. If a bolt spins freely and won't tighten, the mounting point itself may have degraded; flag it rather than forcing it.
- Inspect the weatherstripping along the bottom and sides. Press on it — it should be pliable, not cracked or stiff. Afternoon downpours and swings between humid and hot push a lot of water toward that seal, and if it's failed you'll start seeing water intrusion along the garage floor edges during storms, not just a draft.
- Test the door's balance. With the opener disconnected (pull the manual release cord) lift the door halfway by hand and let go. A properly balanced door will stay roughly in place. If it drops like a stone or shoots upward, the spring tension is off — this is a sign, not a DIY repair.
- Run the auto-reverse safety test. Place a 2x4 flat on the ground where the door closes. Close the door normally — it should reverse immediately on contact. Then test the photo-eye sensors near the floor by waving a hand through the beam while the door is closing. If either test fails, that's a safety issue that needs attention right away.
- Listen on the next few open/close cycles. After lubricating and tightening, run the door up and down two or three times. A smoother, quieter cycle confirms the maintenance worked. Any new grinding, popping, or a door that jerks at a specific point in its travel is worth noting for a technician rather than chasing with more lubricant.
Where the Line Is: DIY vs. Technician
Everything above — visual inspection, cleaning, lubrication, tightening visible hardware, the balance and safety tests — is safe for a homeowner with basic tools. What's not on that list matters just as much:
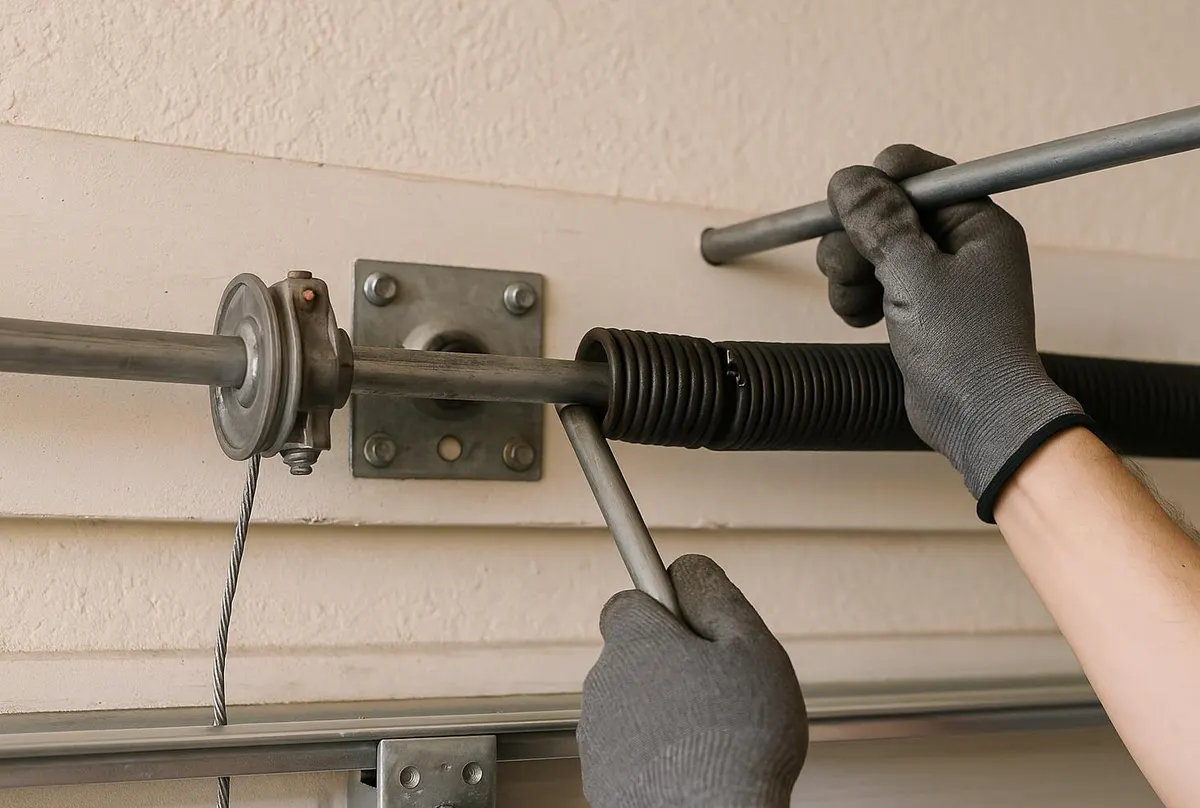
- Springs — torsion springs especially are under extreme tension and have caused serious injuries when handled without the right tools. If your balance test failed, that's a spring job, not a tightening job.
- Cables — frayed or loose cables are a sign the whole lifting system is under stress and can snap during operation.
- A door that's off its track — don't try to force it back on; that usually bends the track further and turns a repair into a replacement.
- Opener internals — if the auto-reverse or photo-eye test failed and reseating the sensors doesn't fix it, the logic board or wiring needs a professional look.
When to Call Century Garage Door Experts
If your checkup turns up a failed balance test, a door that won't reverse, visible track damage, or hardware that won't hold a tighten, it's time to call. Our Garage Door Tune-Up & Maintenance service covers a full inspection of springs, cables, rollers, and opener function beyond what's safe to check yourself, and if something's already worn out, our Garage Door Spring Repair gets it back to safe, balanced operation the same visit in most cases.
If your twenty-minute check turned up something more than lubrication can fix, call Century Garage Door Experts — we serve Century, FL and the surrounding Escambia County area, and we'll have it sorted before it becomes a storm-season emergency.